
It's amazing how much AI has developed in the last years, although it is not yet VFX production ready, but I think it will be somehow integrated into the workflow in the upcoming years.
Mostly I'am working in Houdini and almost every VFX related idea can be solved in it , in a procedural way. I was happy when I found ComfyUI where we can tweak the AI content similar way, so I thought i'd start exploring its limits and also the limits of my laptop. (Currently I have a NVidia Geforce RTX 2060 with 6Gb VRAM)
1st Test
How to create, and control the look of the AI Image based on a 3d Scene?
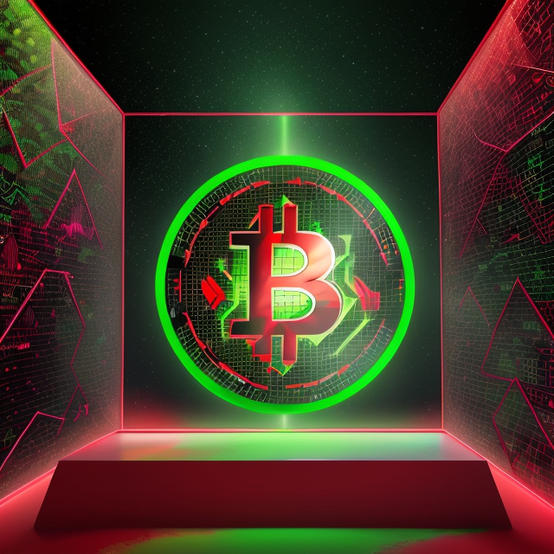
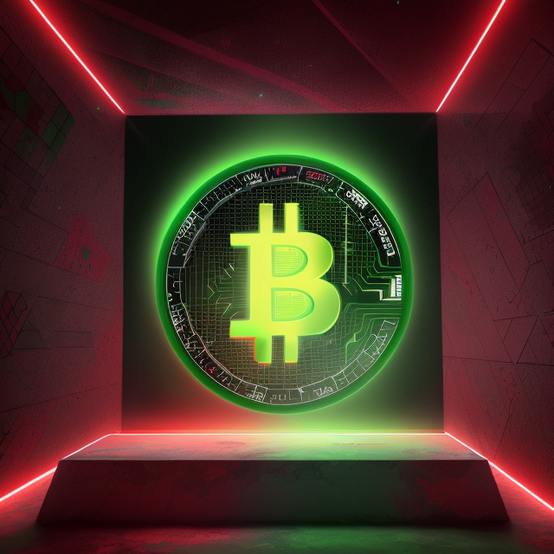
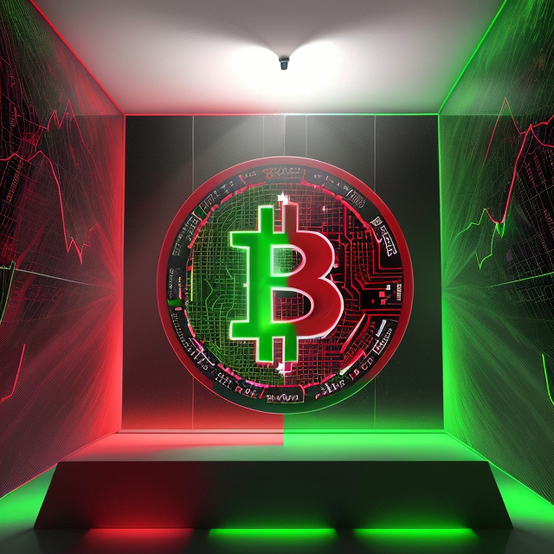
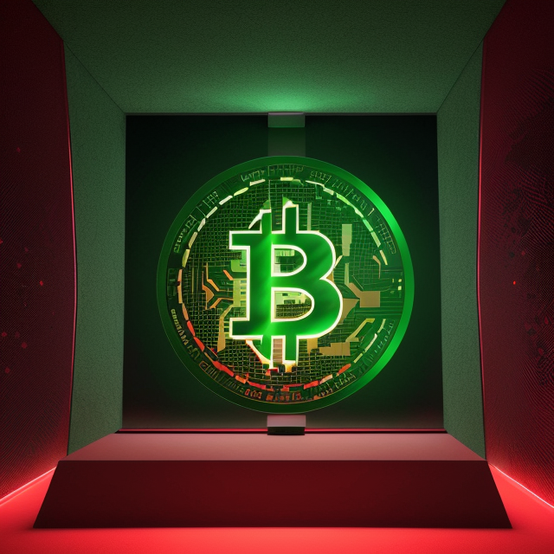
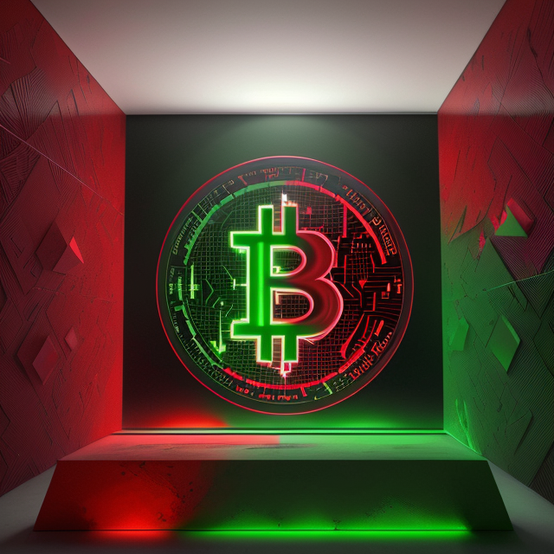
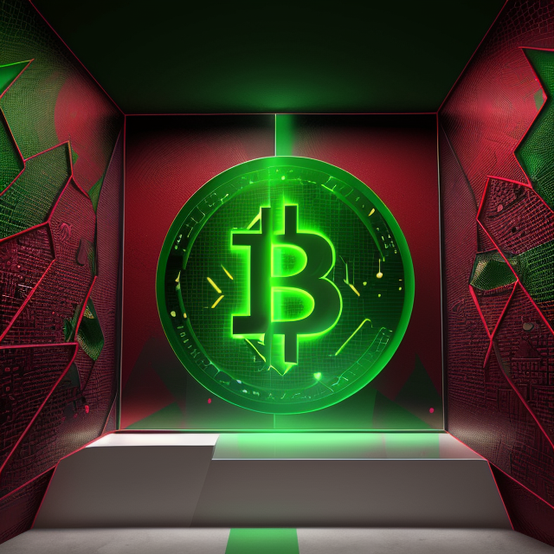
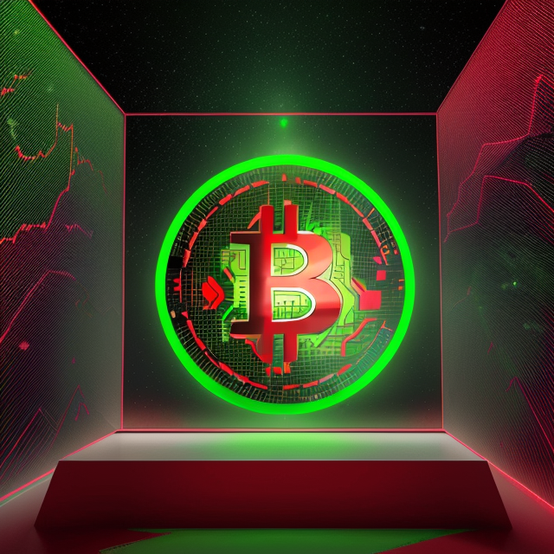
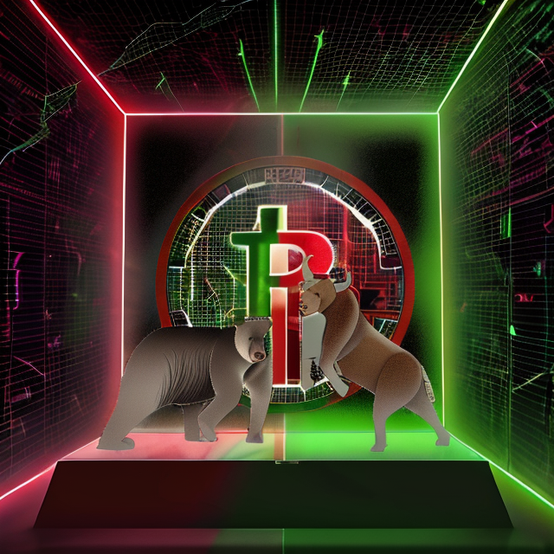
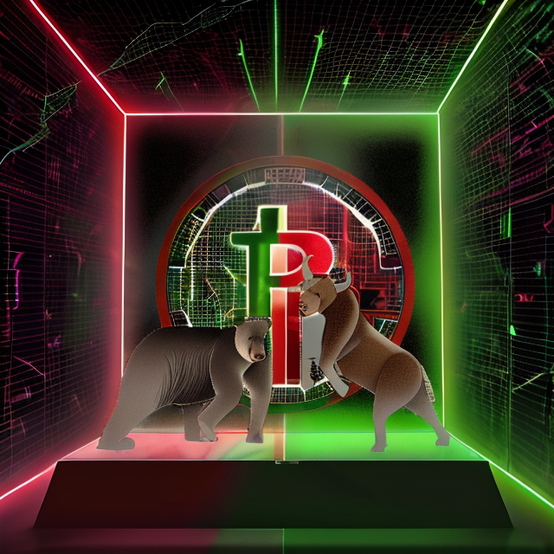
The idea was to create something in Crypto theme, and display the movement of the crypto bear and bull market, in the form of its red and green characteristic colors with abstract bear and bull visualization
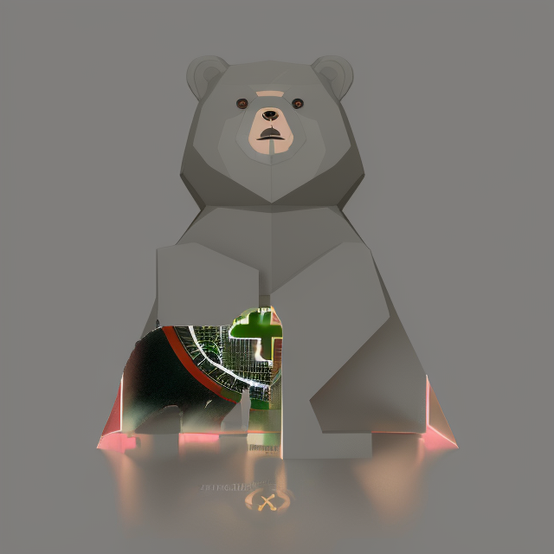
1.Create a base *NoCGI scene
 |  | 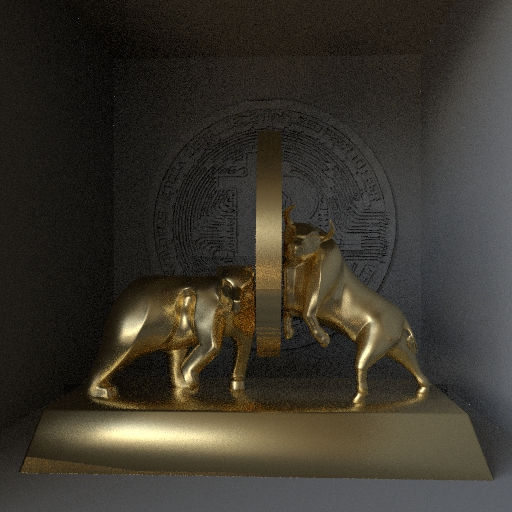 | 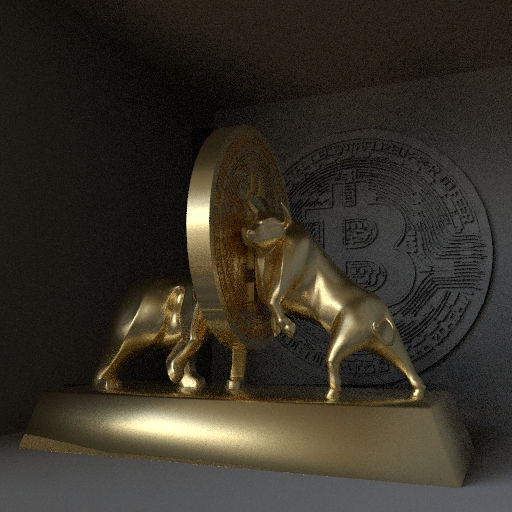 |
*just kidding it is CGI
2. Preparing the Masks in Houdini what we will use in ComfyUI to control the look of the AI image
(I found very useful the following videos from Entagma and from Konstantin Magnus)
Based on Camera view we can generate "in real time" depth, segment, diffuse, normal,
canny and Alpha masks through CopNetwork

It is recommended to create the Background and the Foreground masks separately
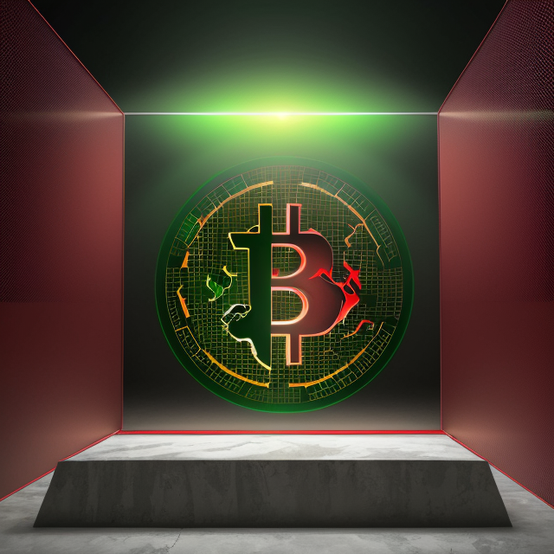
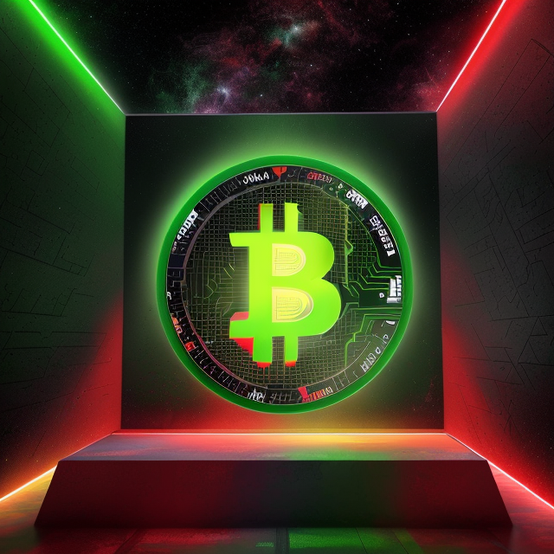
3. Generating the Environment in ComfyUI

Model used : AbsoluteReality_v181
Canny and Segment masks connected to 2 separate ControlNet
Generated 8 images with 2 separate KSampler Seed is Fixed, so we can reproduce the current results
We can easily iterate the versions. it is about 1-2 minutes to generate a batch with 4 images with my current GPU. Resolution is 640*640 without UpScale.
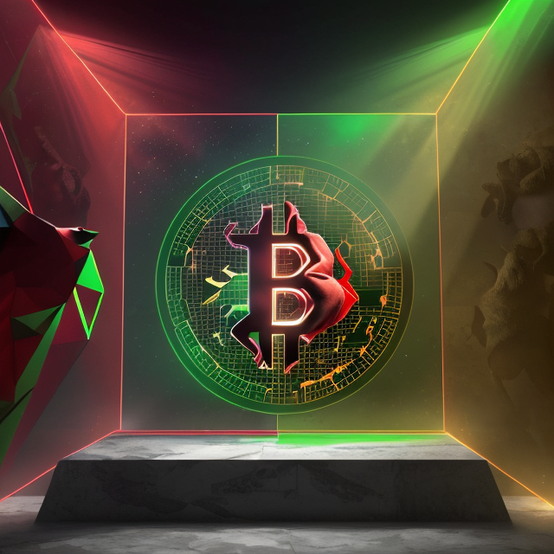
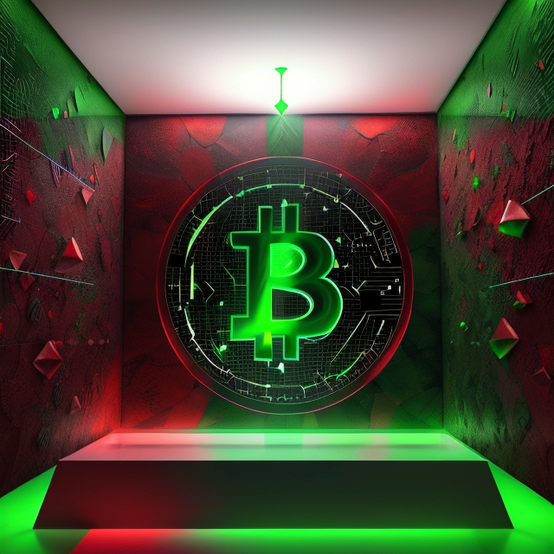
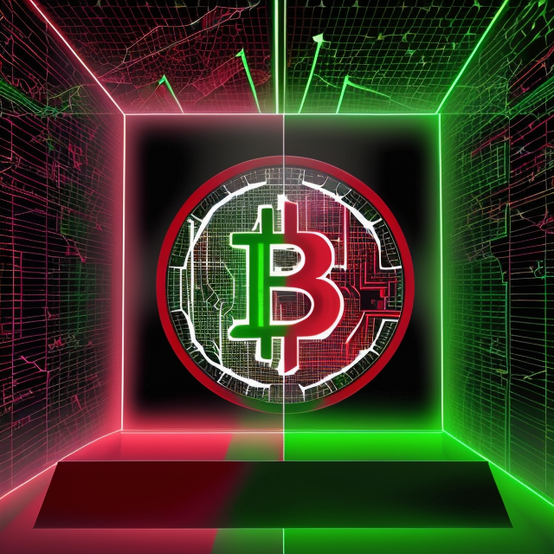
4. If we have a prefered version we can add the Foreground layers to the Image

Model Used: dreamshaper8 (If we use inpaint masks optional to use the "inpaint" version of the model)
Canny Layer connected to the ControlNet
Alpha layer used as a mask where we want to add additional elements to the image
Output of the 1st KSampler Connected to the 2nd KSampler as a Latent Image Input
5. Stable Video Diffusion Workflow
Generating a few frames Video from the Image
It is very easy to use, to see the image in motion, but I dont really feel I have Control over Camera Movement, and blending between the images. I still need more experiment.

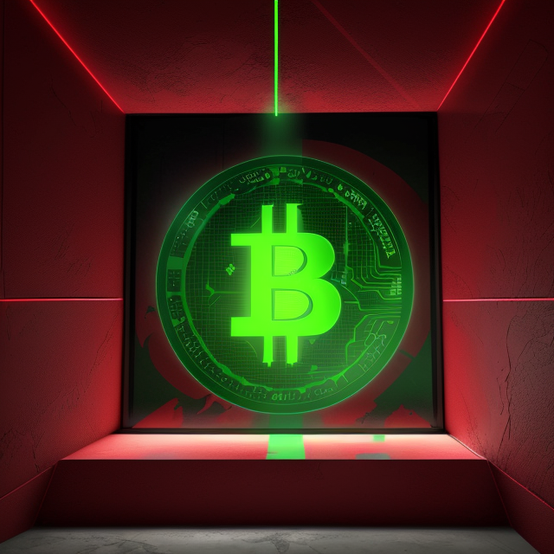
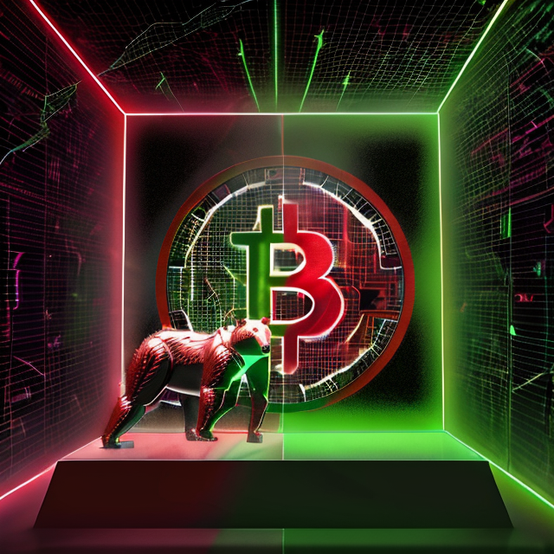
"Final" Results:


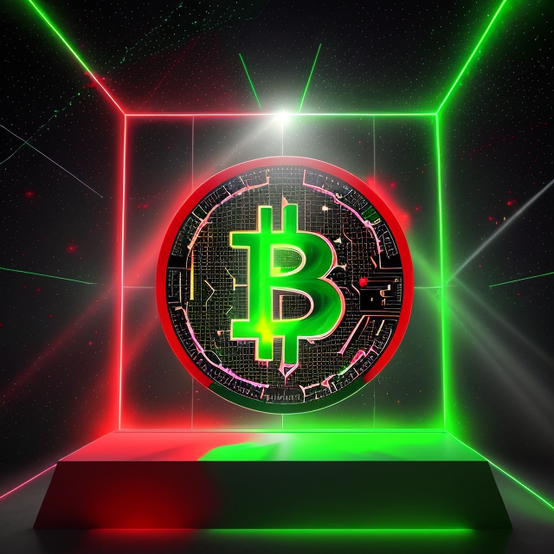


Conclusion:
It's amazing how quickly versions can be iterated (on my older GPU also), currently it is good enough to visualize base ideas, but if we need to create a bit more art directed version it still hard to achieve it without any post work. Looking forward what will be my conclusion next year.
More Stable Diffusion experiments in progress
Comments